Tuesday, January 17, 2012
Today saw the launch of the first wonder workshop. It was themed "Out of this World", and we had a full eight kids to start! I had so much fun, and so far the feedback has been awesome -some kids went home and just carried on experimenting!
I thought I'd take you through the workshop by photo...and also lend you some tips if you are wanting to host or start your own co-op.
Once I've planned everything (remember it's my middle name and the way I remove stress from the morning!), I make sure I am prepared for the day. I pack each experiment we're going to do into a set box, or put it into a special place in the kitchen. So here are some boxes ready...

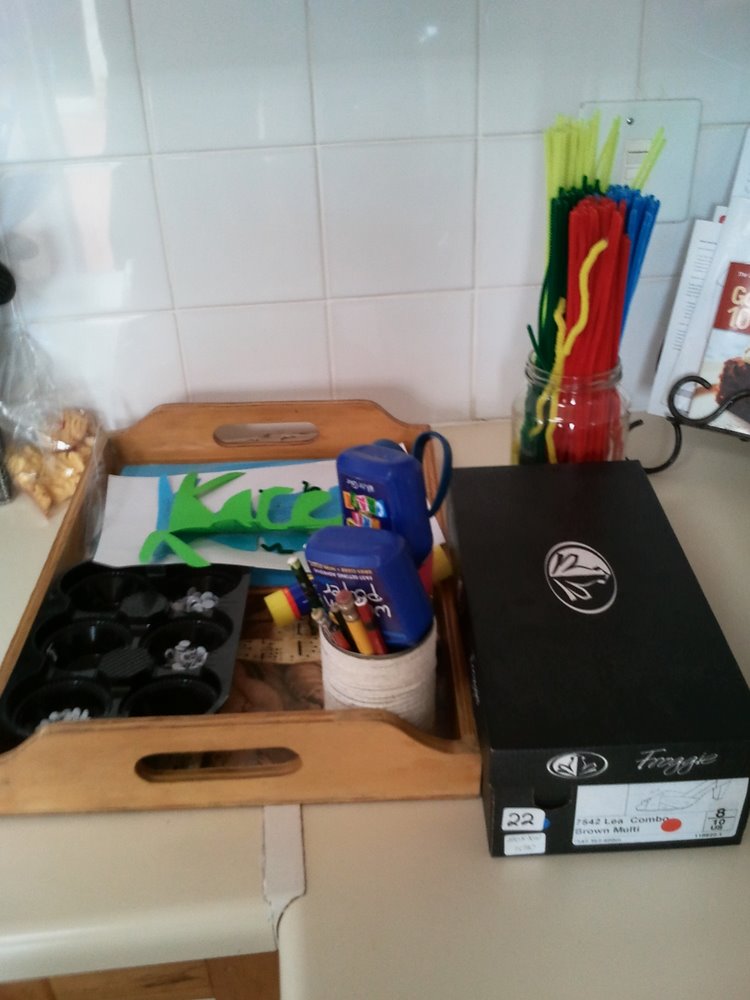
And I try to have something on the table that'll pique their interest as soon as they walk in....

To begin with, we had a few ice breakers as these kids didn't really know each other. There were some connections between the kids, but we played a few name games to help them to remember each others names. As the overarching theme I had chosen was " Out of the World", we spoke about the 8 planets in the solar system (yes, you read right, Pluto is no longer considered a planet, but a dwarf planet, and you can read the ins and outs here). I found this lovely song here, and we did a little game using it.
Then we came inside and speculated what it would be like on the planet closest to the sun...and made these awesome lava lamps! I was blown away by the fun these kids had, and how they changed and altered the experiment to make swirling storms in the glasses too!

 |
| got to love Mr. Sociable's face! |


 |
| things do look impressive in a row hey?! |


 |
| King Arthur's... |
 |
 |
| Mr T's |
 |
| got to love the clumps of salt on this! Reminds me of a limestone landscape! |
 |
all so different! |
And again, this proved such a hit, the kids stayed here forever! I filled up the bottles of colors a couple of times, and after they had played their hearts out, they left them for a while, and when we came back, this is how some had changed:
 |
| Such beautiful colors |
 |
| Mr Sociables addition of his lava lamp to the ice created this volcanic looking ice! |
 |
| Mr M's lovely ice sculpture! |
And then a much needed snack break...

Then some more fun - what if we visited a new planet, what might we discover? Some SLIME perhaps?
Combining two liquids to make...wait for it...a solid...a SLIMY solid! For this one, they worked in designated pairs...

 |
| got to love Mr M's face! |
 |
| eugh! They made this color! |
I'm so thankful that I'm following my heart and doing these workshops, and thankful for these precious kids to share them with!


sounds and looks amazing! Would you care to share the ice tunnels..I know that would be right up my 11 year olds street!
Hi Wendy
The ice tunnels were a sure fire hit, and so simple! First freeze some water, and as a matter of interest, use boiled water and tap water. (There's supposed to be this difference in the crystals and whether the ice is smokey or see through, an experiment in itself!).
Use both coarse salt and ordinary salt (i think sea salt works better), and liberally pour some on the ice block.
Then use droppers or syringes and squeeze on food coloring - I've also read people use liquid water colors, so whichever is better - and again, liberally apply! It does take a little while for the cravasses to form, so its also a lesson in patience!
Hope that helps!